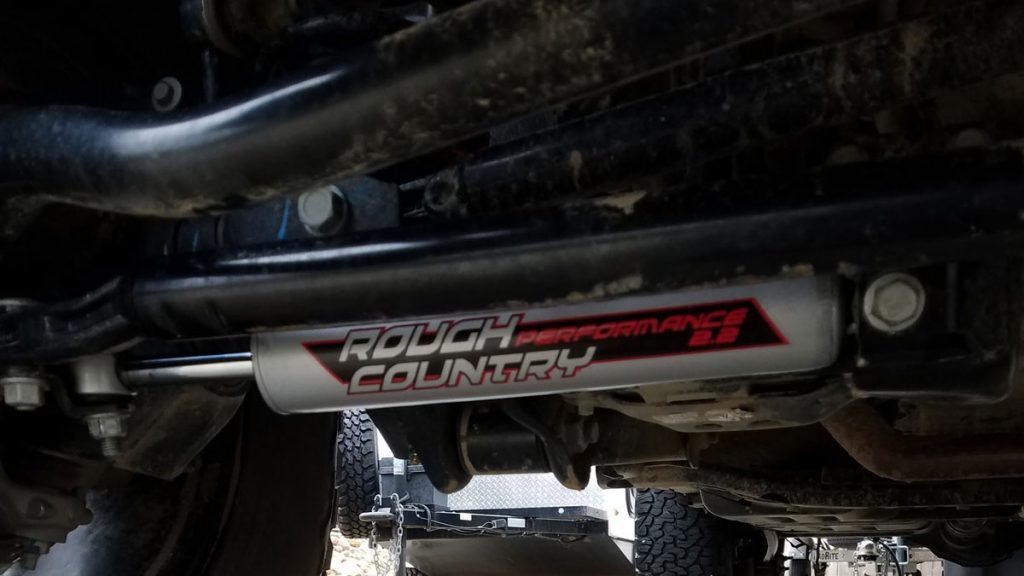
A steering stabilizer is a device that helps reduce your vehicle’s shakiness as you drive at high speeds. There are several different types and styles. The right kind of stabilizer can make your driving experience smoother than ever.
So, you’re in the market for a steering stabilizer and you’ve come across one that’s perfect. Now, the problem is- do you know how to install a steering stabilizer?
Well, you may think that you can hire a mechanic for the installation. To each his own. Those of you who would like to save a few bucks by installing the stabilizer on your own, kudos! You’re on the right track.
While it might seem complicated at first, this process can be easy if you know what you’re doing. So, to help get you started on the right foot, we have put together this article so that you can learn how to install steering stabilizer. So, keep reading to know more.
How To Install Steering Stabilizer (Single/Dual)
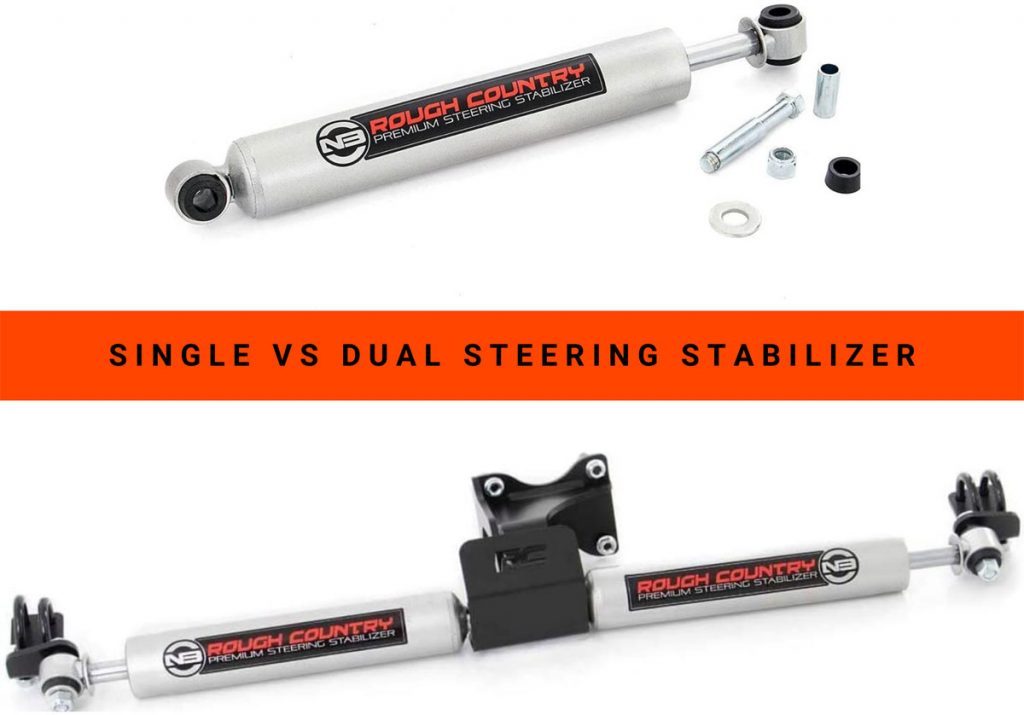
If you are looking for an easy-to-install, cost-effective way to make your steering more stable on the road, then installing a single or dual steering stabilizer is the way to go. It’s one of the most affordable ways!
The thing about this type of stabilizer is that it counteracts the effect of bumps in uneven terrain by keeping your front end from bouncing up and down. So, this can help prevent accidents caused by unstable vehicles because you’ll be able to avoid obstacles more easily when they get in your path. Now, we’ll go over everything about how to install one yourself.
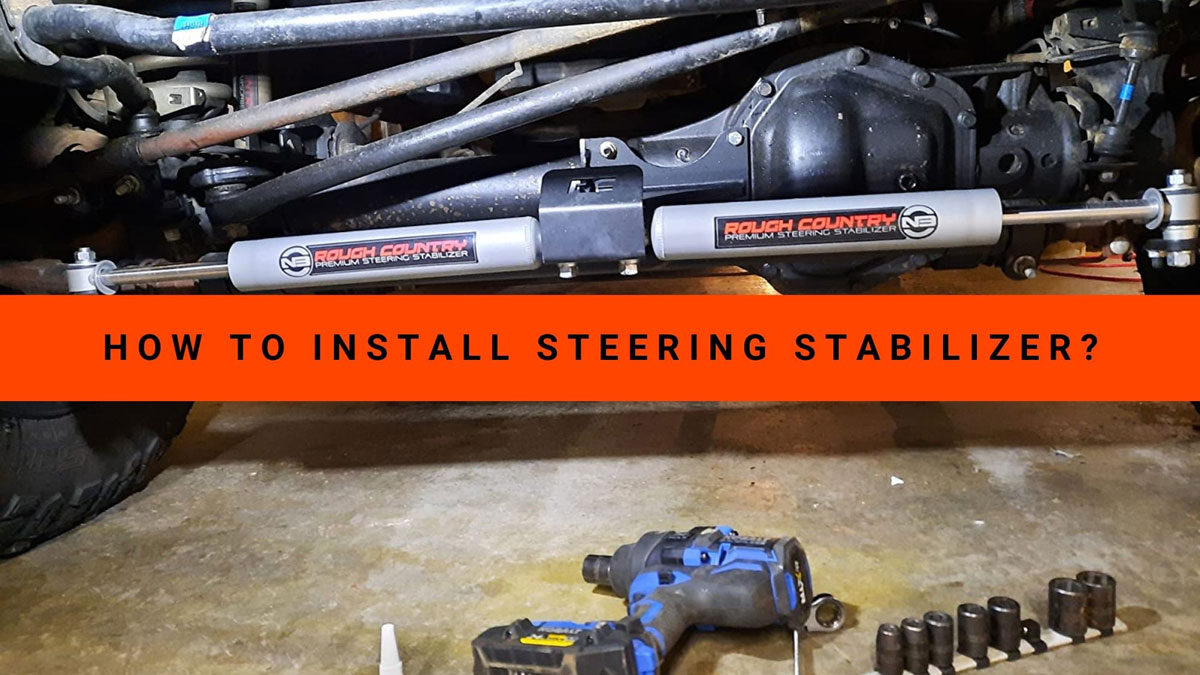
But before we delve deeper, let us tell you that the steering stabilizer installation instructions may seem unending. But that’s because we have divided the segments in such a way so that they may give you a thorough understanding. But when you internalize it and do this step by step, the process won’t seem that intimidating.
- Park your vehicle on a clean and flat surface. Put the back wheels against a block to make sure it does not move.
- Remove the stabilizer OE.
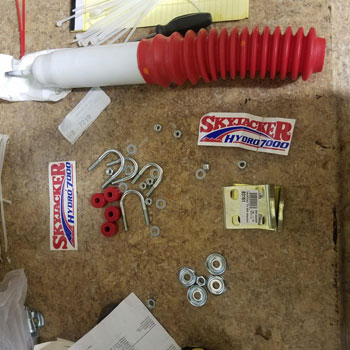
- Loosely attach the bracket to the bottom of the axle with bolts, nuts, and washers. Make sure that the bracket is level. Move it a little, so it is a quarter inch from the differential.

- Attach a bracket to the bottom of a tie rod next to a clamp. Use U-bolts to attach the bracket. Make sure the mounting hole is offset from the center. Leave hardware loose.
- Attach the passenger side stabilizer bracket to the bottom of the tie rod link. Use the provided U-bolts and hardware. Leave all of it loose.
- The bushings and the ID sleeves need to be put in the stabilizers.
- Attach the rod end of your stabilizer cylinder to a bracket with this handy tool from inside the package. The center mount fits in place behind where you’ll find its nameplate, so all that’s left is making sure everything lines up nicely!
- The new stainless steel badge can be riveted to the front plate and then cleaned up before installation. If there’s any residue on it, you could use alcohol or brake cleaner for a quick wipe-down – but don’t forget about painting the badge black if that suits your fancy!
- Attach the stabilizers to either side of your vehicle’s tie rod mount using a bolt, nut, and washer.
- To find the correct position for your stabilizers, move them until they are extended equally and in their desired location.
- It’s important to make sure that the hardware is securely fastened in place. U-bolts come with a protective cover and can be easily installed by hand or machine, depending on what type you purchase.
- With the steering wheel turned all of its respective locks, check for stabilizer clearance and full motion.
- Please make sure you check your fastener regularly because they can come loose. Five hundred miles is just the beginning, and at regular intervals will let you know if anything needs to be fixed for them to stay tight!
How To Replace Steering Stabilizer
A steering stabilizer is an integral part of any vehicle. It reduces the vibrations and swaying you feel when driving off-road or on uneven road surfaces.
Since it has such important uses, you should replace your steering stabilizer whenever it breaks down without further delay. You need to know how to properly replace a broken one for it to work as well as possible without causing further damage to your vehicle.
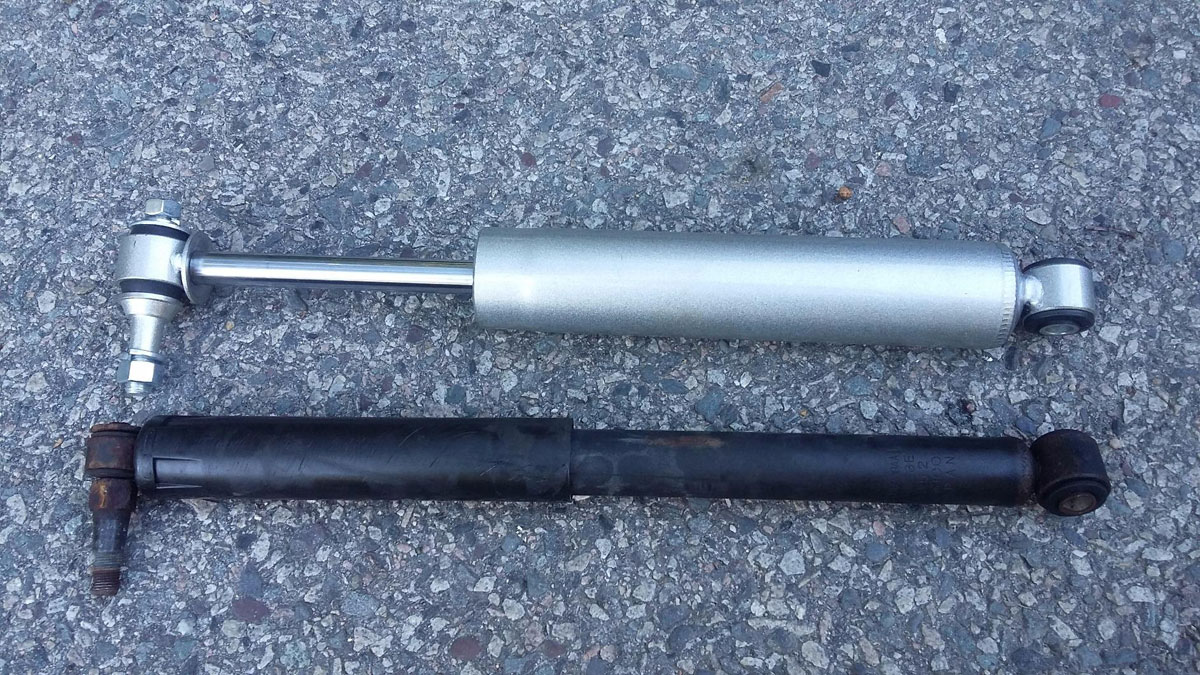
Step 1: Raise The Vehicle
Raising the vehicle is best completed with a hydraulic lift. If you don’t have access, use jack stands and wheel chocks behind in front of your rear wheels for safety’s sake!
Step 2: Disconnect The Battery
Before you start to work on your car, locate the vehicle’s battery and disconnect both positive AND negative cables.
Step 3: Remove Belly Pan
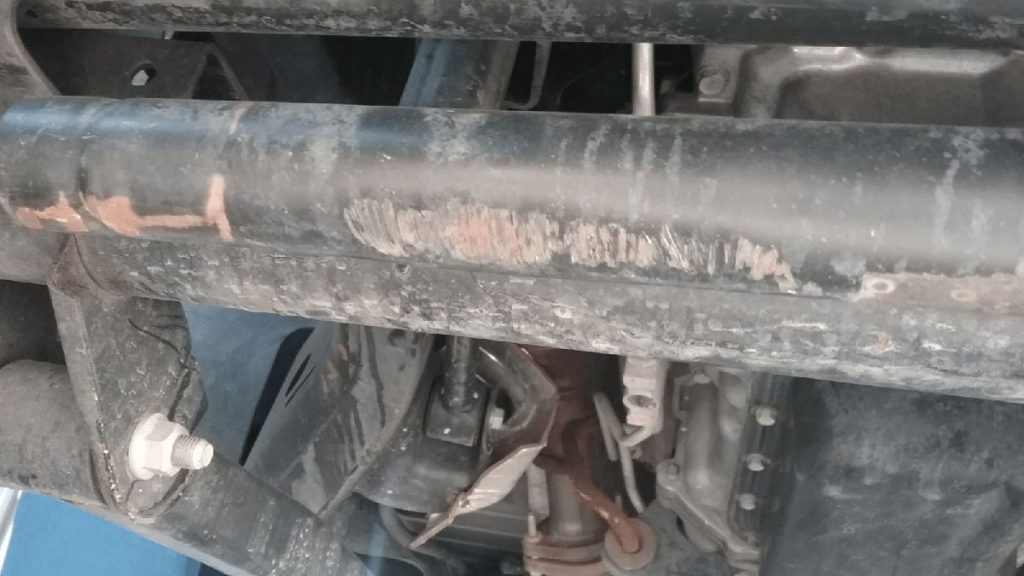
The steering stabilizer on most Jeeps and trucks is located in the belly pan. You’ll have to remove this, as well as any cross member bar underneath your engine compartment that might be obstructing access.
Referring back to your service manual should help with instructions for removal techniques.
Step 4: Remove Attaching Bolts
Now you need to remove two bolts that are holding the steering stabilizer stop onto your car. To get those pesky bolts out of your way, find a penetrating oil, spray, and let them soak for five minutes.
Then, use either two boxed end wrenches or an impact wrench. Be careful, don’t damage the other parts while removing them.
Step 5: Remove The Existing Steering Stabilizer
A steering stabilizer attaches to the end of the tie rod as well. Spray the tie rod bolts with penetrating oil. Let them soak for five minutes. After that, you can carefully remove the existing steering stabilizer.
Step 6: Replace With A New Steering Stabilizer
Now you can safely and with ease install your new steering stabilizer. Carefully clean up the old brackets or frames to avoid scratching anything on your car, then put everything away neatly for next time.
If you already know how to install a steering stabilizer, then it is easy to replace one. The process is the same.
Don’t worry! We have already discussed installing one above, so follow the instructions there if you want more information.
Where To Mount Steering Stabilizer
A steering stabilizer is important for your steering and suspension. It helps maintain vehicle stability while driving on bumpy roads or when pulling a heavy load. It is usually installed between the center link and the chassis of a car.
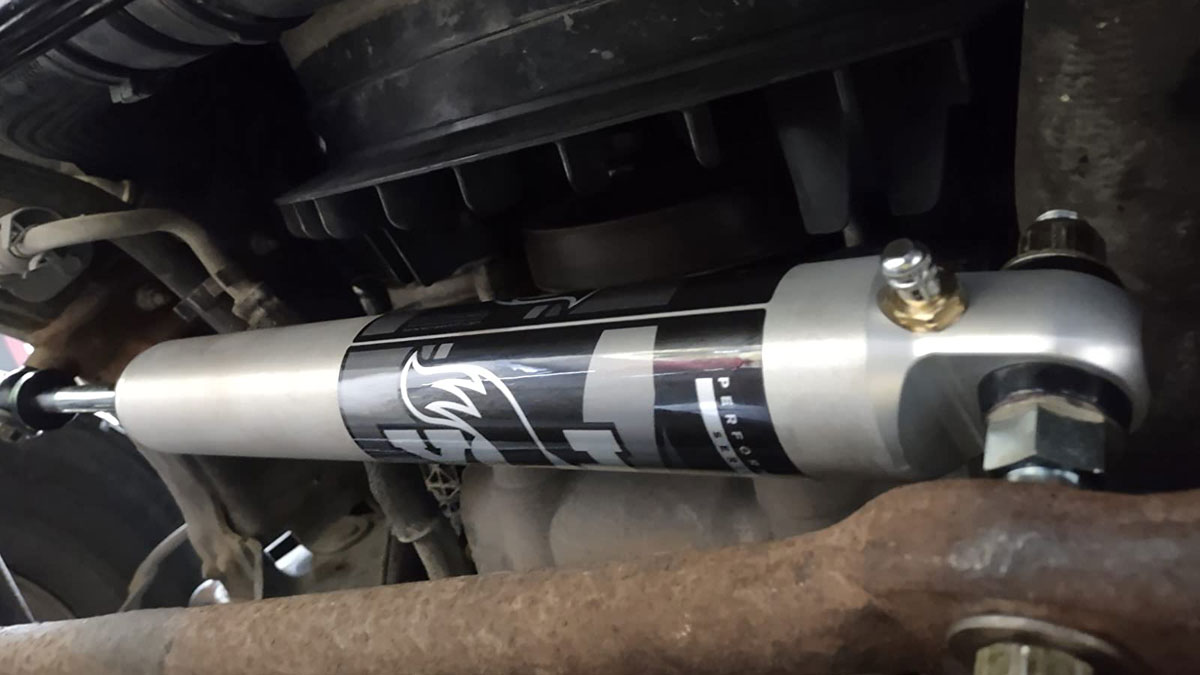
We’re going to give you some pointers on where to mount them in different types of vehicles-
Jeeps & Midsize SUVs: Passenger side rear bumper near the tailgate hinge
Large SUVs/Trucks & Pickup: Front-Right Wheel Well (Driver’s Side).
Final Words
We hope this would be your go-to article whenever you want to check out how to install steering stabilizer. The procedure may seem lengthy but that’s because we have broken down the segments for your ease of understanding.
Also, we’ve answered all of your questions in detail so that by the time we finish, you will be able to make an informed decision about the steering stabilizer install process for your vehicle. You might even decide that installing one on your Jeep, truck, or pick up isn’t worth the hassle at all!
Whatever happens, just remember that it’s never too late to improve safety and stability in any vehicle.

